How I hosted a Static website on AWS using Amazon S3 and CloudFront

I am a DevOps Engineer passionate about learning and writing about my experiences on my journey to be a world class Cloud/Devops Engineer. I am passionate about sharing knowledge, learning and mastering cloud technologies, making sweet treats, and putting smiles on the faces of people.
We were given a task in Altschool to host a static website using Amazon S3 . The catch in the assignment was for the bucket to remain private but we should come up with a way to enable the public access our content.This seemed like a challenge at first, but after some research I was able to figure it out.
Instruction
Create an S3 bucket, with your name and time stamp.
Enable static website hosting.
Bucket must be private but the public should be able to access it somehow
Hint: Explore CloudFront
To achieve this;
First you
log in to your AWS account
navigate to the S3 service
create bucket by naming your bucket, select your region and enable versioning.
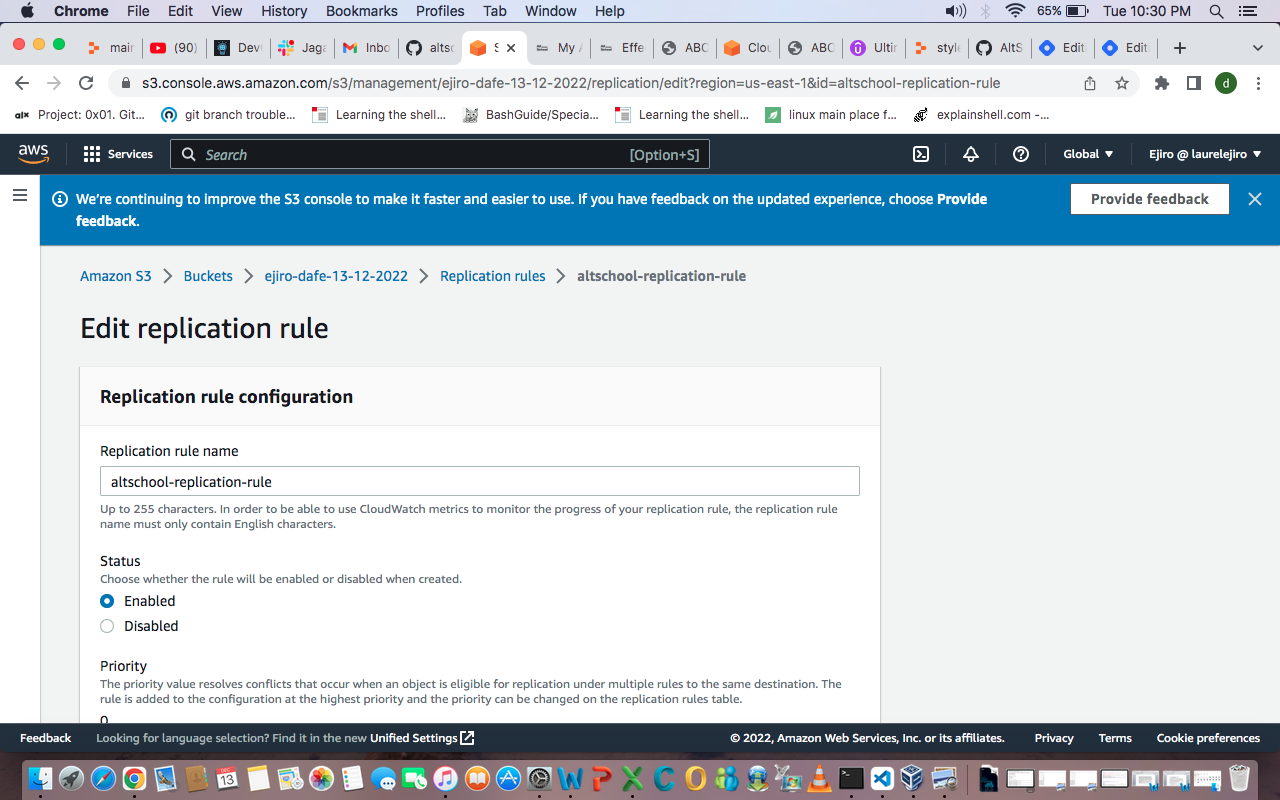
We are doing this so we can enable Replication which is a form of backup storage, also without Versioning enabled, Replication will not work. Leave everyother setting as it is.
Under the first bucket menu, click on "Management " then scroll to Replication rules and Create Replication rule. Under source bucket, apply to all objects in the bucket.
Select the destination bucket as your second bucket.
Create an Iam role for the bucket, aws will automatically do this for you.
Click on the additional Replication options then Save to apply changes.
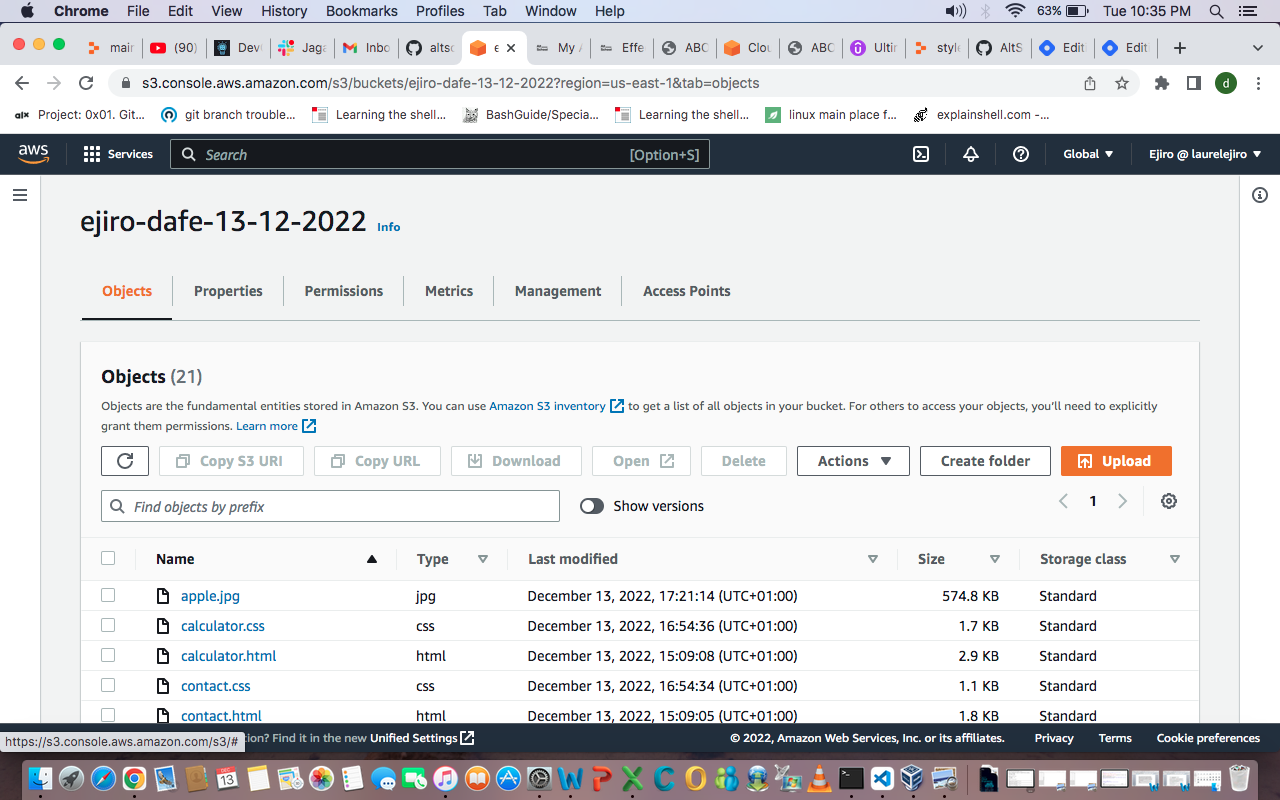
Upload all your files for the website you want to host in the bucket then;
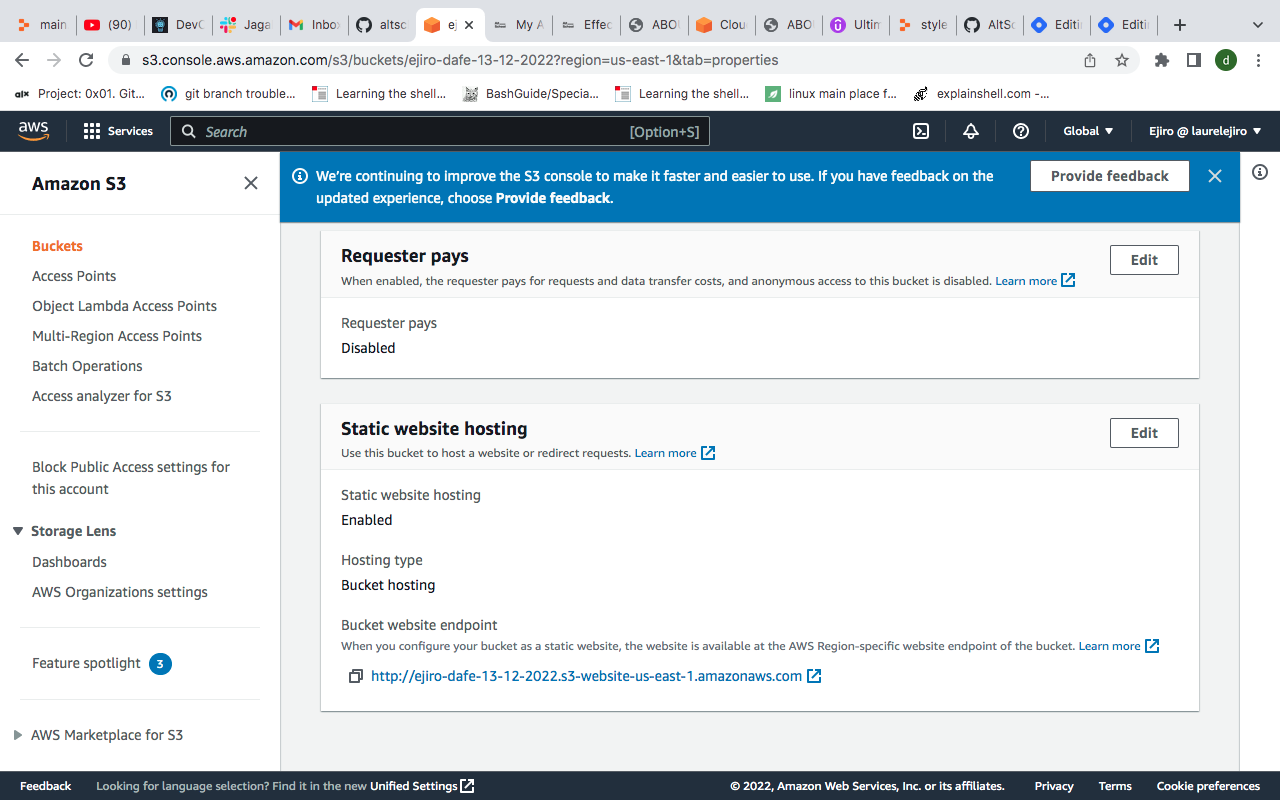
Enable static website hosting under bucket properties. Hosting type should be set to static website and make your index document file index.html.
Leave other settings as it is, save changes.
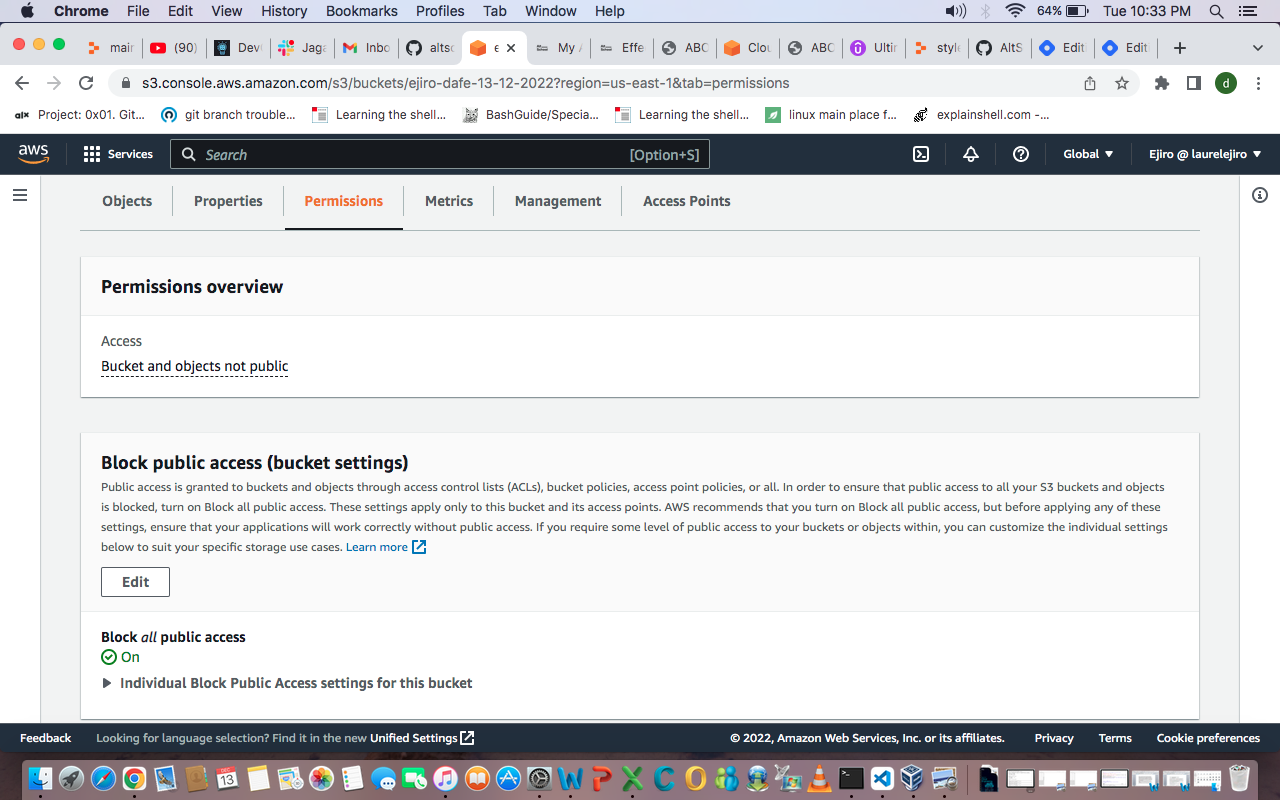
Make sure your bucket is still set to private as cloudfront is the service that will enable public access.
Finally go to cloud front and create a distribution.
Choose your origin domain as the s3 bucket you uploaded your files to
select origin access control settings. Under this create control setting, the details will automatically be filled. Add a description if you wish then click create.
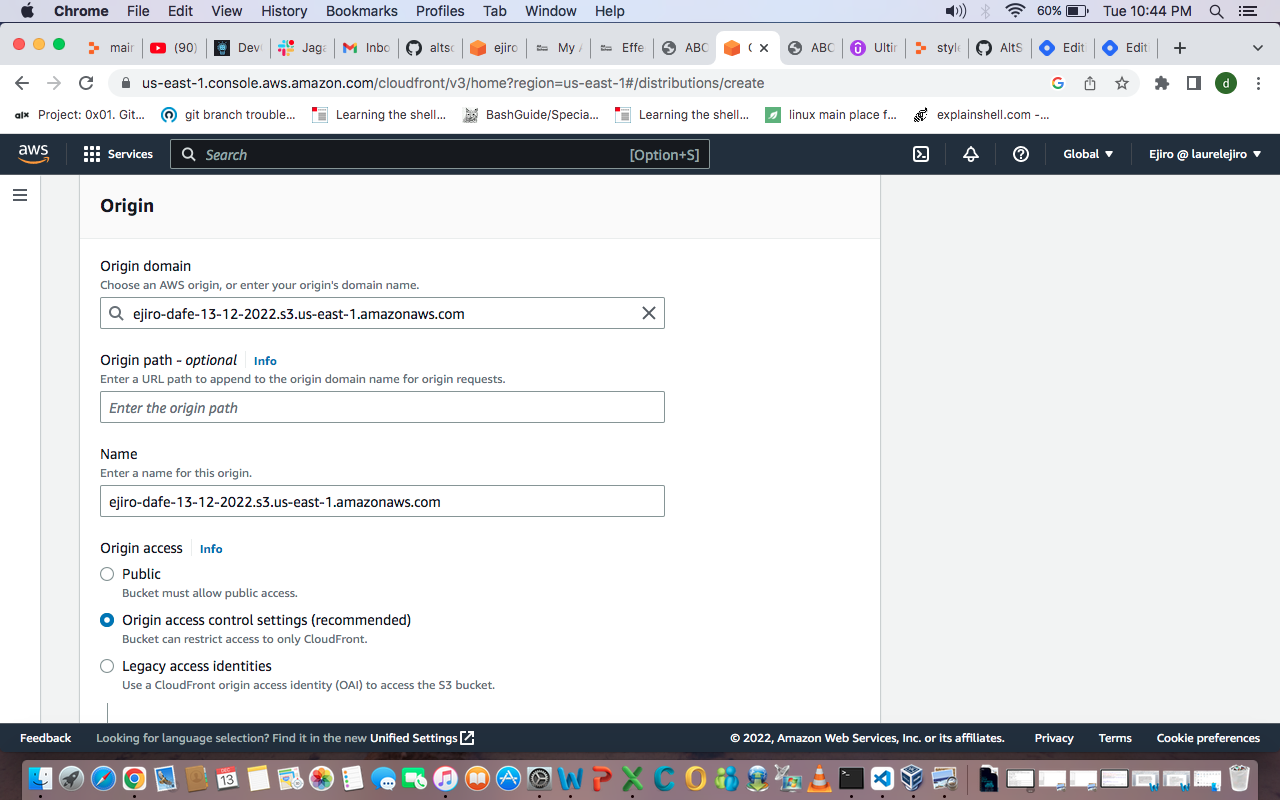
Leave everyother setting as it is and create distribution.
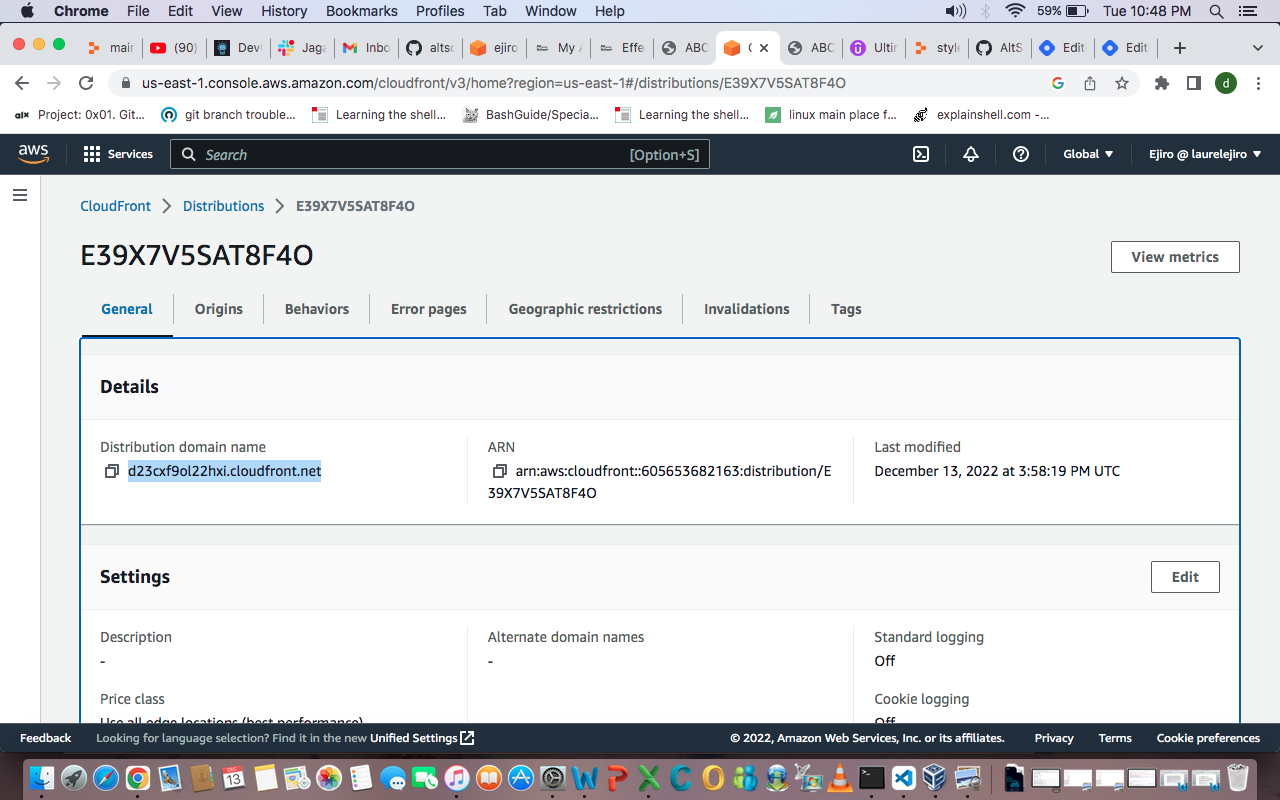
- A bucket policy will be generated for you which you will copy and paste in the bucket policy section of S3 under permissions(use the link aws will generate in a blue background for you for easy navigation) . After saving, give some minutes of patience, you will get your cloudfront distribution with your url.
I used the portfolio page I built from my first semester HTML/CSS project to do this assignment. You can view my site here
(If you can't visit the site at the time you come across here, it means i have destroyed the bucket.)
Update : I did this project again as part of a cloud resume challenge and hosted my portfolio website on an S3 bucket following same steps as above. I made use of route 53 to attach a custom domain name. click MY CV to see my page.
Note that everytime you change your file on S3 you have to do Invalidations on cloudfront to enable cloud front get the new file as cloudfront does not have access to the backend of you S3 bucket, hence it cannot see new changes and will only make available content cached in edge location until the TTL (time to leave) expires.)

